Getting Practical with AI Tools
I know Generative AI is cool, but here's what excites me day to day.
Hello and thank you for subscribing to the Photo AI newsletter! At some point soon I’m going to rebrand this, since “Photo AI” is now being used not only by Topaz Photo AI but also by a company called Photo AI that promises you can “Save money and use AI to do a photo shoot from your laptop or phone instead of hiring an expensive photographer.” Now, I’m not an AI doomsayer, but that sounds a bit too aggressive for my taste. It’s designed for customers to upload photos of themselves to train the AI and then use that as the basis for “photos” that you “create.” (Sheesh, listen to me sounding like the people I often criticize.) I’m pretty sure I was using the name before this company, and know I did before Topaz named their product, but I’d rather avoid the naming confusion.
If you’ve tried Photo AI, let me know. And if you think it’s a better investment to support my work here instead of paying $29 a month for generated selfies, consider becoming a paid subscriber to support my work for as little as $4.17 per month.
First Thing
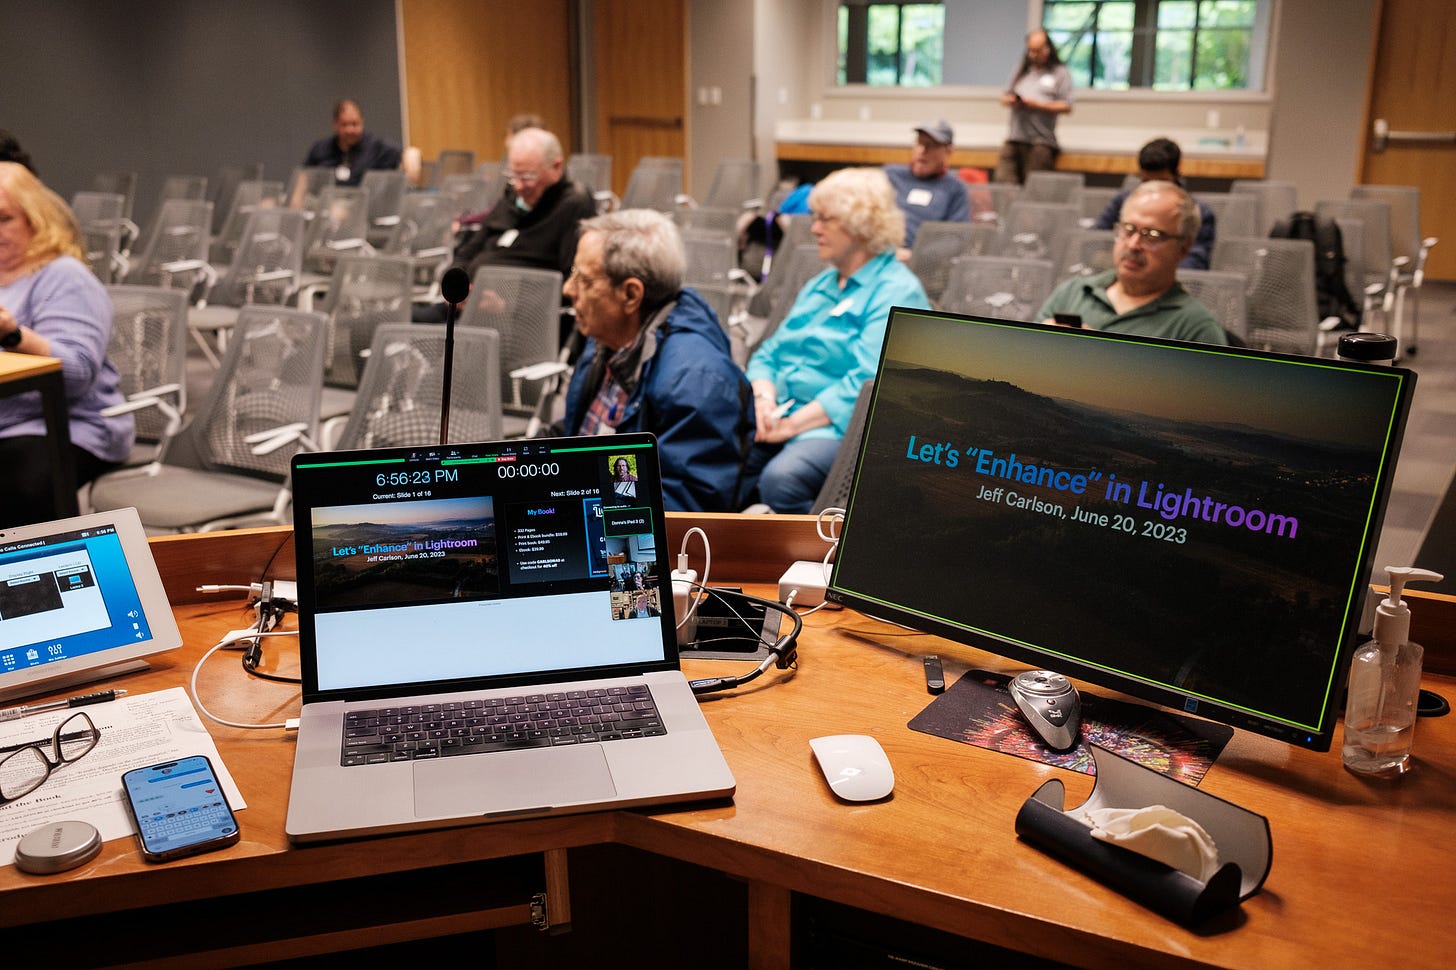
Last week I gave a presentation to the Seattle Area Photoshop User Group (SEAPUG) about the Enhance tools in Lightroom and Adobe Camera Raw in Photoshop. Generative AI features have dominated the photographic discussion lately (yes, with my own contributions too), so it was nice to talk about AI-based tools that are solidly useful versus generative.
In short: The Enhance dialog encompasses three specific features: Raw Details, which takes an ML-assisted second look at raw files to resolve details that may not be caught using the normal demosaicing algorithms (which translate the raw data into an image we can see and edit); Denoise, which does a great job of removing digital noise from images; and Super Resolution, which doubles the resolution of an image without turning it into a blurry mess.
One takeaway was that results really depend on which images you use, especially with Raw Details. For example, Lightroom doesn’t always translate fine details in photos captured using the X-Trans sensors in Fujifilm cameras (which I use). Raw Details can often improve the image quality, but I find myself turning to DxO PureRAW 3 more often for those types of shots. When it comes to the Denoise tool, however, I like Adobe’s implementation—it’s a good balance of noise removal and detail retention.
I also couldn’t help playing the classic “Let’s Enhance” video, which entertains me every time. It’s still mostly science fiction, but we’re getting closer:
AI Tools in the Wild
One reason I started this newsletter was because I believe that AI technologies are fundamentally changing photography. That’s a broad statement, so allow me to back it up with a recent practical example. I won’t hit every edit I made, and instead focus on the ML tools and features.
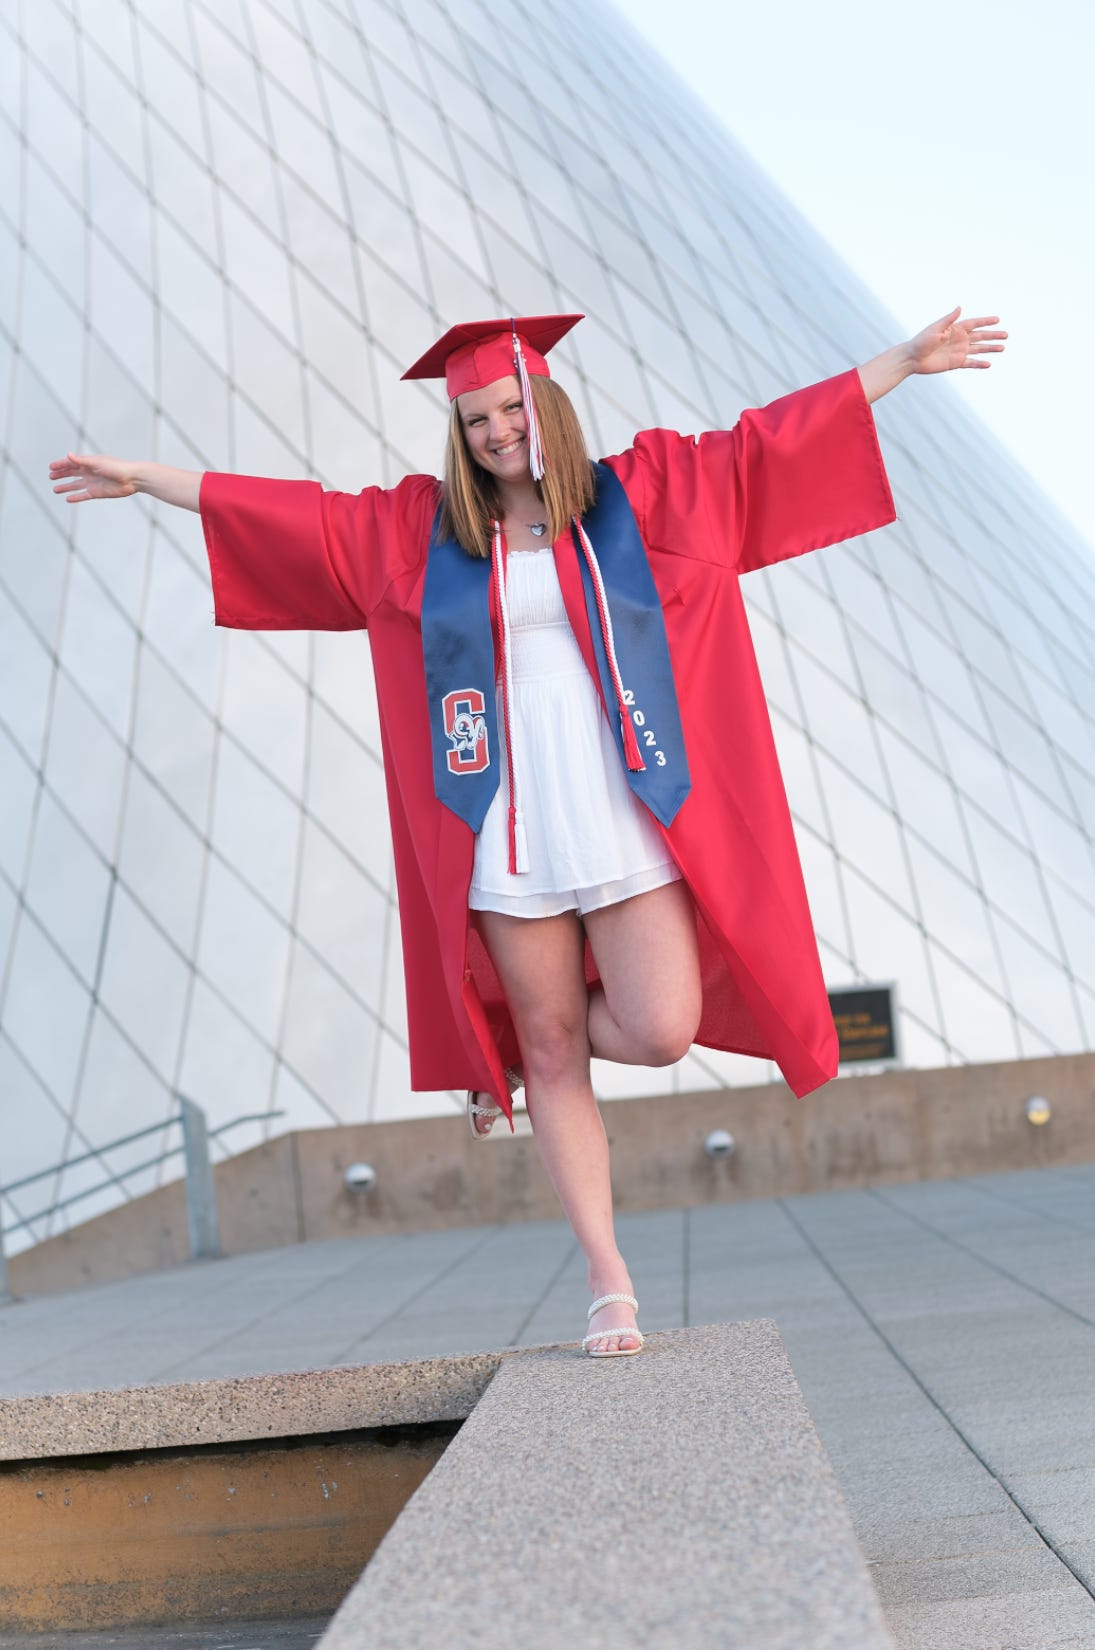
My niece just graduated from high school, so we did a cap & gown photo session to celebrate. We met at sunset at the iconic Museum of Glass in Tacoma, WA, catching the last direct light before the sun sank behind buildings across the freeway. That gave us some great golden shots and then a long period of even light that felt diffused—even light, not entirely in shadow—before it got dark.
For this photo, Emma stood on the edge of a reflecting pool (which was, alas, drained) in front of the metal cone that is the signature architectural detail of the museum. I shot it in a series of bursts at 1/125, f/2.8, ISO 160, using a 56mm Viltrox lens.
The first thing I did during editing was run the photo through DxO PureRAW 2 to reprocess the raw file. Although the original is in good shape, it’s also slightly soft and there’s a lot of fine detail in her hair and the tassle, both of which are small in the frame. PureRAW added a bit more definition in those areas without my having to jump directly to the Sharpen tool.
With a freshly-demosaiced image saved as a new DNG file, I could start editing the tones and color properly. I almost always click the Auto button to see what Lightroom Classic suggests, since the feature uses Adobe Sensei data to come up with auto settings.
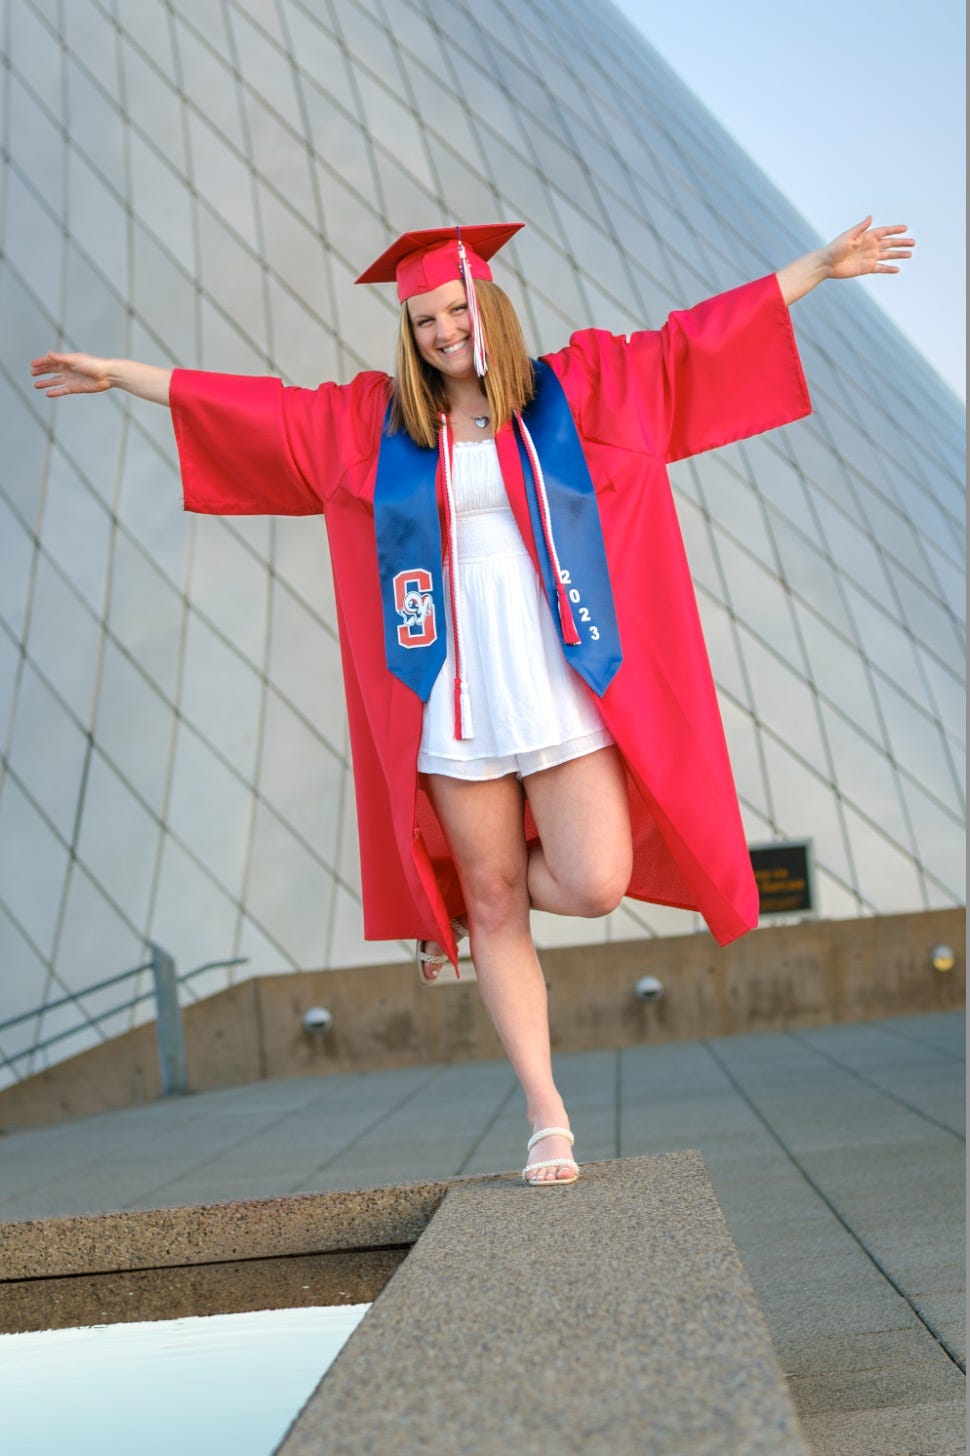
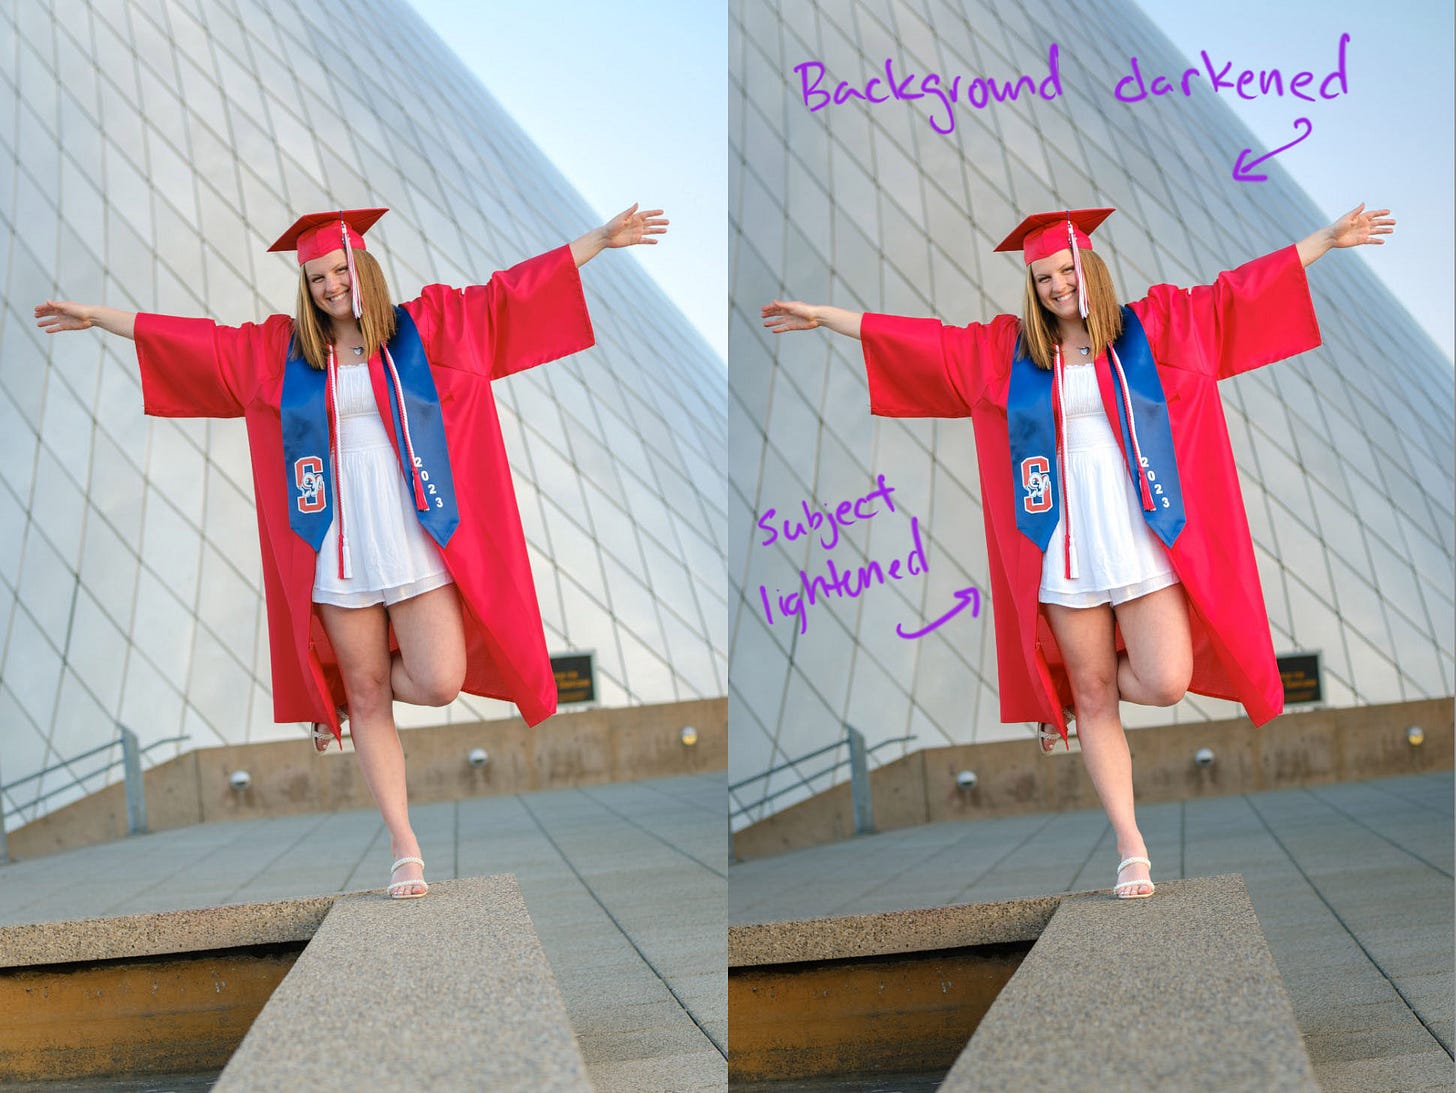
Next I wanted to put more emphasis on Emma and less on the background. To do that, I switched to the Masking panel and clicked Subject to automatically select Emma—cap, clothing, fingers, hair and all. Seriously, making a selection this good with one click is still amazing. With that created, I pushed up the Whites a little to brighten her. Then I created another mask, this one for the background (which chooses everything but the subject), and reduced the exposure.
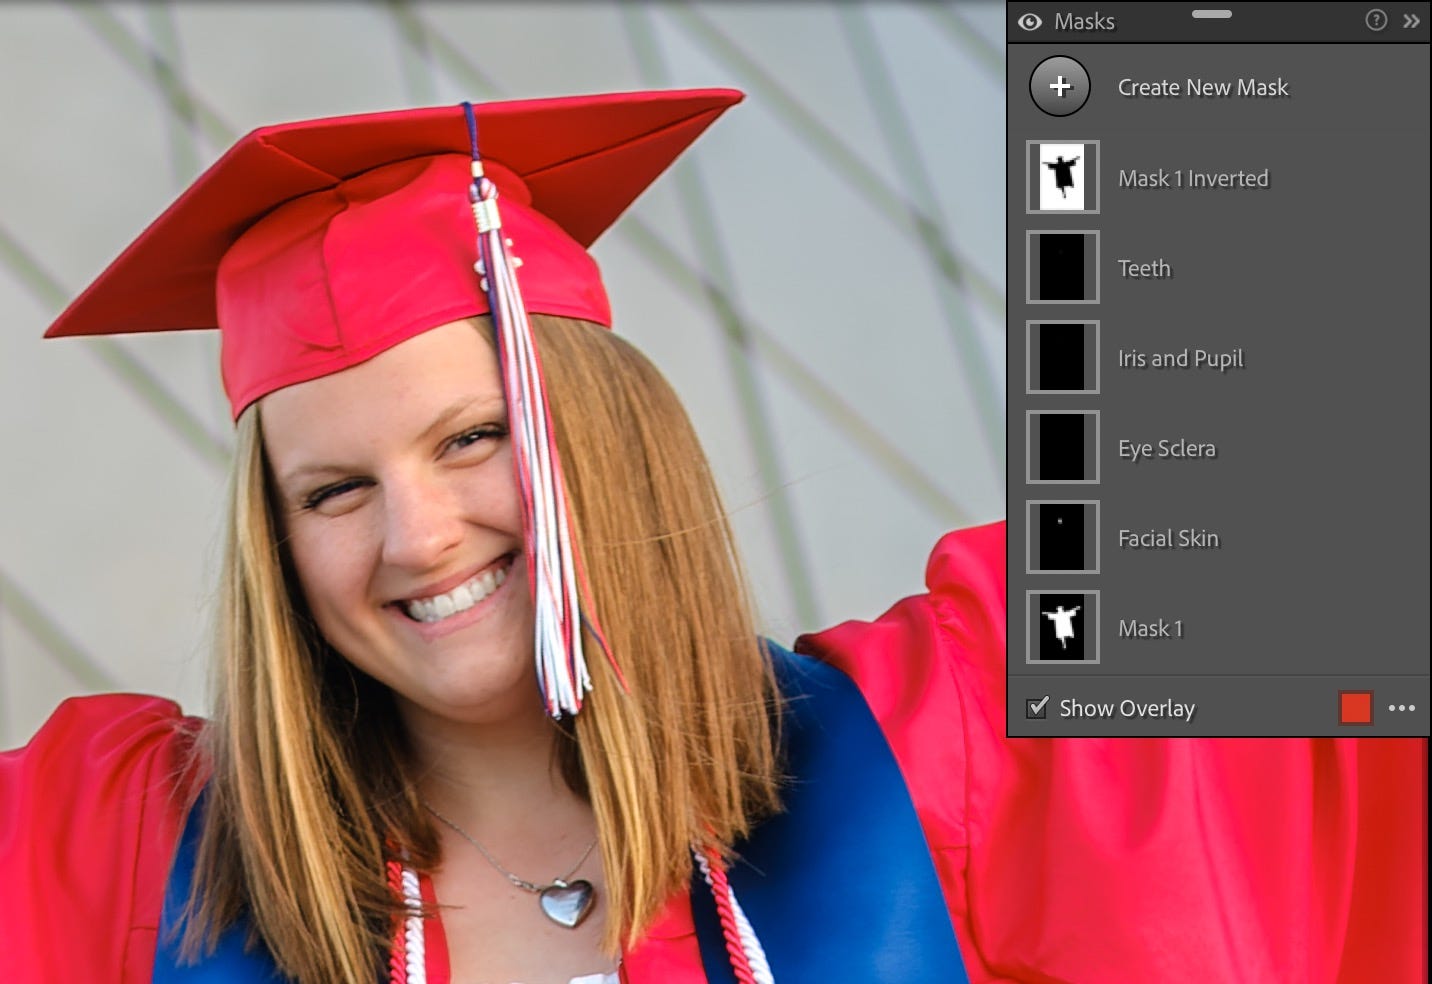
Next, a few portrait edits. Lightroom’s Adaptive portrait edits are another one-click option that I use for every portrait. It makes separate masks for face skin, eyes, and teeth and applies subtle adjustments to improve them. A reduction of Texture makes skin more flattering; some exposure and contrast to the eyes make them pop; and the teeth are lightened just a bit. You can go in and change the values, or even hide or remove the masks if you don’t like the effect.
The last thing I did was an experiment that turned out pretty well. Since the pool was empty, it’s pretty distracting at the bottom of the frame. Normally I would have cropped that out, but instead I sent the image to the Photoshop beta. I selected the area and used Generative Fill with the prompt “water” to create a realistic appearance of water. It’s not the focal point of the image, but makes it clear what she’s standing on and also balances the triangle of sky in the top-right corner.
In all I ended up with 19 final images from the photo shoot, most of them processed in similar ways, which took far less time that it would have in the past. In every case except the generated water, I took advantage of AI-based features to perform edits—tone and color adjustments—that I would have performed anyway, just in less time.
For me, that’s the real everyday value of these tools. Yes, Generative Fill is impressive, but for most of my photos I’m not looking to create objects that weren’t present in the original scene. I want features that will speed up my editing with clean, professional results.
Further
Nikon Natural Intelligence campaign: This is a smart ad campaign for a company that recognizes generative AI as a threat, while also featuring some stunning photos.
Photography and the Rise of A.I. (a perspective), Sean Tucker: I enjoyed Sean’s take on What It All Means.
I hope to be able to share some big news soon, so stay tuned!
Let’s Connect
Thanks again for reading and recommending Photo AI to others who would be interested. Send any questions, tips, or suggestions for what you’d like to see covered at jeff@jeffcarlson.com. Are these emails too long? Too short? Let me know.
